
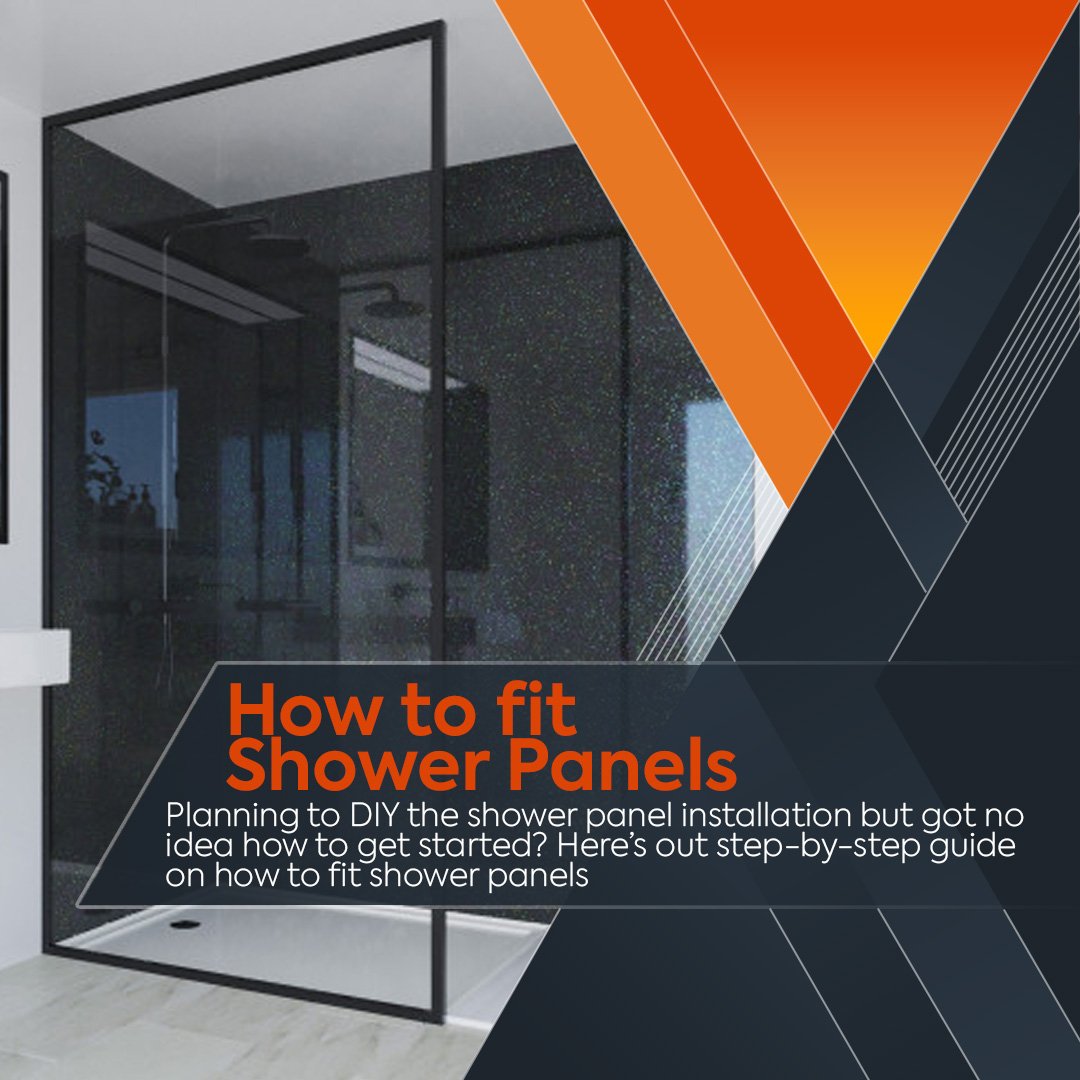
How to fit shower panels – A step-by-step guide
Planning to DIY the shower panel installation but got no idea how to get started? Whether you want to update your shower walls or add a bit of colour and character using new shower panels, doing the job can save you a considerable amount. In this article, we’re going to share with you a step-by-step process for fitting shower panels.
Shower wall panel’s advantage over tiles
There are plenty of options when it comes to shower panels and in splash zones like a shower enclosure, you want the most watertight solution that gives you peace of mind.
Ceramic tiles are often the top choice for many, as they offer great designs and when fitted well provide a solid waterproof solution, but they can be pricey! Shower wall panels, on the other hand, provide a more waterproof option, easier installation, and that benefits from also being a lot cheaper, which is why more people are choosing shower wall panels today.
Here are the benefits of using a shower wall panel:
- Quick and easy installation – with the tongue and groove system which allows the board to slot together neatly, you can get the job done up to 6 times faster than tiles, without requiring a specialist tiler.
- Watertight finish – It is 100% waterproof, and it does not require grout or adhesive for installation.
- Cost-effective – They have extensive coverage but cost less per square metre than tiles.
- Simple maintenance – Wiping the panels with a damp cloth and soap can instantly get the cleaning done.
- Installable over existing wall coverings – you don’t have to remove existing tiles because you can install shower panels on top of tiles.
- Limitless design options – Various design choices enable you to explore and find the perfect panel for your space.
Preparing for installation
Here are a few things to consider before installation:
- Measure your shower walls
Whether you’re working around your bathroom or updating your shower enclosure's internal walls, it is essential to know what space you’ll need to cover. It will help you identify the dimension and number of the panel that you’ll need to get it covered.
- Choose the right shower wall panels
The shower panels we stock come in an array of colours and designs that you can choose from to get your dream look for your shower. Take some time to browse through the collection to ensure you get the right design for you. If you can’t find a design you are happy with, contact us via phone, email or webchat and we can see if there are any other designs we can source.
How to fit the shower wall panels in your bathroom
Tools and Materials needed for the installation:
- Caulking Gun
- Sealant
- Safety goggles
- Tape Measure
- Sharp Blade
- Sanding Pad
- Electric/fine tooth saw
- Stanley knife
Method:
- Measure the area you want to cover, both horizontally and vertically. You can fit shower panels on multiple surfaces, so you’ve got nothing to worry about if you have existing tiles or plasterboard. Don’t forget to make sure you have an even and level surface on the floor as well or the joins won’t meet properly. You may also consider using coving or trims and profiles if you need help with a level and watertight solution.
- Most shower panels don’t need cutting due to the choice of different widths. However, if you need to, set your panel, and lay it flat on supports with the front facing up. Then mark out the cutting lines on the shower panel. Adds strips of masking tape to protect the edges while cutting it down to the required size.
- Then, carefully remove the excess panel using an electric or straight-edge saw. Keep in mind that you should use safety goggles when using these tools.
- To achieve a professional waterproof finish, we also recommend using panel trims. However, if you’re going to use trims, you may need to remove the tongue and groove joint from one or both sides of the panel. Add screws to the trim using a screwdriver or power drill if it is necessary.
- Take a sanding pad and sand all the cut edges to create a smooth finish and remove any debris. Then, flip the panel over and use the sanding pad to rough up the surface and allow the sealant to have better adhesion.
- To fit the shower panels together in a corner, use a corner trim and secure it in the corner with screws and sealant on the rear. Add a considerable amount of sealant to the back of the first panel and place the panel into position inside the trim and against the wall. Don’t squeeze it too hard against the wall if you are using end caps. If not gently push it against the wall and secure it with screws on the tongue.
- If you’re using end caps, now might be the best time to attach them. Add a good amount of sealant inside the trim and then slide it onto the end of your shower panel. Be careful not to prise the panel away from the wall and when finished make sure the panel is firmly pressed into place so that the adhesive should spread against the trim.
- Repeat the process for the remaining shower panels and ensure that they are in the correct position before fitting them firmly. Make use of the tongue-and-groove if you want less visible join and add masking tape when applying sealant for a neat finish.
This should be used as a general information guide only as every space is different and we can’t legislate for every unique challenge you might face. However, for most people, they are this straightforward and generally, no cutting is needed at all.
A new shower look achieved.
With just a few simple steps, you can now achieve your dream look. The best thing being it's DIY-friendly, and it doesn’t require powerful tools to get the installation done. So don’t hesitate on fitting your own shower panels. Just follow the step-by-step procedure and you’ll be able to upgrade your shower with a premium finish!