
How to change a radiator valve
Radiator valves play a significant part in how well central heating radiators operate, and as most of them are visibly on display in our homes, changing your radiator valves is a great way to improve the performance, efficiency and look of your heating system.
Most radiators have two valves that connect the radiator to the pipes and allow hot water to enter the radiator and control how much heat is given out.
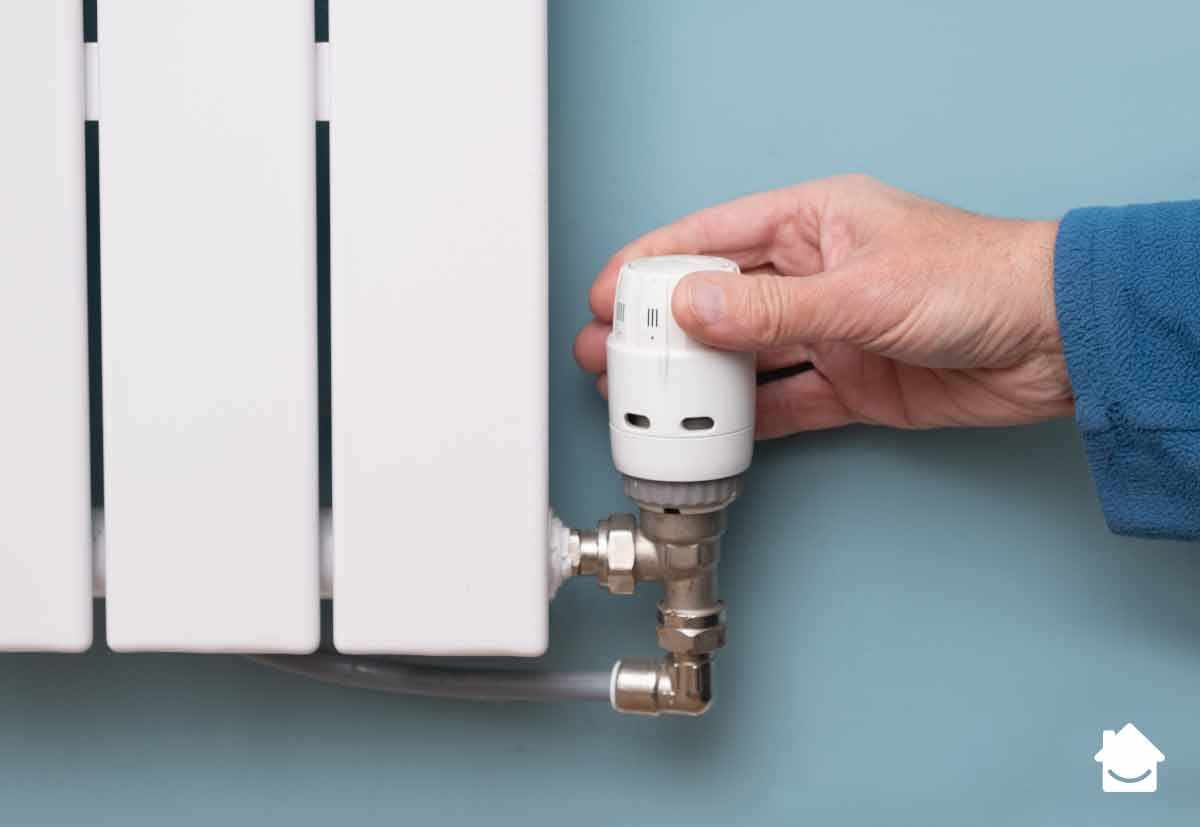
The lock shield valve is fitted on the return pipe and controls the water flow coming in and out of the radiator. The other valve on the flow pipe is essentially the on/off tap which can either be a manual or thermostatic radiator valve (TRV) with a numbered dial.
Whether you currently have a manual or thermostatic valves the process of changing them is the same. This guide will show you how to change your lock shield radiator valve and either your manual valve or TRV without fully draining the system to get the job done quicker.
Before we get started, lets go over some reasons you might want to change your radiator valves in the first place
- Replacing a faulty radiator valve
Whether your radiator valve is leaking or stuck in the same position, a faulty radiator valve can cause problems with your whole heating system, so replacing it is a must
- Swapping manual valves for thermostatic radiator valves (TRVS)
Making the swap to thermostatic radiator valves can help heat your home more efficiently, reduce heating bills and give you more control over the temperature so that each room feels comfortable
- Finding a radiator valve style that suits your home décor
Just like designer radiators have become much better looking over time, there’s now a stylish selection of radiator valves to choose from to suit your home décor
Even if you’re not ready to get a brand-new radiator, just changing the valves is a small detail that can make a big difference to the look of your radiator and complement other accent features in the room.
Is it easy to change a radiator valve?
If you consider yourself an experienced DIYer and feel confident with most radiator related jobs, then you should find it relatively simple to change a radiator valve is you have a combi boiler system.
However, changing a radiator valve without draining the system is probably not a job for the first-time DIYer so it would be best to get a professional in.
Also, if you have a conventional system (with a small F&E tank in the loft) we would advise contacting a registered heating engineer as his job will be more difficult.
Can you change radiator valves without draining the system?
If you are changing a couple of valves on a few radiators, it is probably best to drain the whole heating system, however, if you are only updating one radiator you can change the radiator valve without fully draining the system and there are benefits of doing so.
For example, the water in your central heating system is filled with heating additives and inhibitor which protect the system. So, draining it fully will mean you are throwing away these important chemicals which you will have to replace to replenish the system
Is your new radiator valve the right size?
Since this method of updating radiator valves doesn’t involve changing the pipework, make sure to check that your new radiator valve is an exact match in size to the valve you are replacing.
In this case, the size of the radiator valve refers to the size of the valve connection and pipework instead of the design of the valve.
The standard size of copper pipework is 15mm and a and all our radiator valves have a ½” thread on the bottom (the part that connect the valve to the pipe) which makes them suitable for use with 15mm piping.
So whether you love the large, decorative, traditional valves or the small minimalist options, all our valves have industry standard connections.
Don’t worry if your pipes are slightly bigger or smaller than the standard 15mm. Sometimes copper pipes can be anything between 8mm-28mm depending on where they are in your home and the age of the building.
If you find a pair of valves that you like the design of but they aren’t the right size for your pipework, you may need to buy radiator reducers or adapters from any plumbing or DIY merchant to ensure a clean connection.
If you’re unsure on the dimensions we would always recommend checking your requirements with your plumber to make sure you have everything you need to change your radiator valve with no issues.
Ready to change your radiator valve?
What you will need:
- New radiator valves
- Old towels or sheets
- Adjustable spanner
- Pair of grips
- Wet & dry vacuum or large container
- PTFE tape
- Radiator bleed key
Step 1 -Turn the heating and water off
Turn the heating off and allow the radiators to cool completely for at least an hour. You should do this before starting any job to do with your radiators to avoid burning yourself!
Remove the plastic twist cap on the lock shield valve (return valve) and use an adjustable spanner or pair of pliers to turn the spindle clockwise to turn it off until it won’t turn any more. This will stop any water from entering the radiator from that side
Note down the number of turns it took to turn the lock shield off as you will need to make the same number of turns when you connect the new lock shield and turn it back on.
Then go to the other side of the radiator and turn the valve clockwise by hand until it won’t turn any more. If you have a thermostatic valve, turn it clockwise until the dial reads zero.
Step 2 – Protect the floor
Cover the floor around the radiator under the valves you are going to replace with the towels and container to catch any excess water.
Step 3 – Prepare the radiator valves
Start this step by preparing your on/off radiator valve on the flow pipe.
If you are swapping an old thermostatic valve for a new TRV, take the thermostatic head off both valves. You should be able to turn this to remove it by hand.
Remove the nuts and adaptors on the new valve and smear the thread that joins to the radiator with the wrap the PTFE tape around clockwise about 8 times to prevent any leaks.
Step 4 – Release the stored pressure
Take your radiator bleed key and open the radiator bleed valve to release any stored pressure. Then close the bleed valve back up again.
If your lock shield valve has a drain off, you could at this point drain the radiator from the drain valve. Place a container beneath the valve and turn it anti-clockwise to open it using an adjustable spanner.
Step 5- Open the old valve on the flow pipe
Use a spanner to slacken off the top nut closest to the radiator to open the old thermostatic valve.
To do this, hold the body of the valve with the grips and use an adjustable spanner to make an upwards turn and unscrew the cap nut until water starts to flow out.
It is important to keep hold of the valve body with the drips to avoid it putting pressure on the pipe causing it to bend and potentially leak later on!
Step 6 – Release the pressure & drain the radiator
Once the old thermostatic valve or manual is open, air will escape, and water will flow out of the radiator. Use a large container or wet and dry vacuum to catch the water that flows out of the radiator until there is no water left inside. This could take about 5-19 minutes or longer depending on the size of your radiator.
Step 7 – Remove the old thermostatic valve.
When all the water has drained from the radiator, keep unscrewing the nut until you can pull the valve out of the radiator to disconnect it.
Now use the spanner and grips and turn the nut anticlockwise to loosen the nut on the bottom of the valve that connects to the pipework and remove the valve.
Step 8 – Attach the new thermostatic valve or manual valve
Holding the valve with the grips, align it with the adapter and tighten the cap nut with the spanner that holds them together, then tighten the cap nut that holds the valve to the pipe.
Tighten the nuts by hand for speed then finish off with the adjustable spanner. Make sure it’s not too tight or you might damage the thread!
Then take the new thermostatic valve head and screw it onto the valve. You should be able to do this by hand.
Step 9 – Remove the old lock shield valve
If you are changing both the radiator valves so you have a matching pair, now is the time to remove your old lock shield valve.
If you only want to change your thermostatic or manual valve you can skip to the final maintenance section.
So, to remove your lock shield valve, use a spanner to slacken off the top nut closest to the radiator like you did in step 5. To do this, hold the body of the vale with the drips and use an adjustable spanner to make an upwards turn and unscrew the cap nut.
Use a container underneath the valve to catch any drips but all of the water should have drained from the radiator.
Now use the spanner and grips and turn the nut anticlockwise to loosen the cut on the bottom of the lock shield valve that connects to the pipework and disconnect the old valve.
Step 10 – Connect the new lock shield valve
Repeat step 8 to align the lock shield valve and connect it to the radiator inlet and copper pipe.
Final Maintenance
Your new valves should now be properly connected to the radiator and flow pipe and return pipe. Give yourself a pat on the back, you’ve just changed your radiator valves, but the job isn’t quite done yet.
There are a couple of things to do after you have changed your radiator valve to make sure that the heating system is working properly.
- Open the valves
Remember to open the lock shield valve the same number of turns as noted down to allow water back into the radiator and turn the TRV to your desired number.
Take a look at your new valves and check for any leaks. If you do notice any drips, you may need to tighten the nuts.
- Re-pressurise system
Since the radiator has been drained and refilled you will need to re-pressurise the system to ensure everything is working correctly.
- Bleed the radiator
Now you need to remove any trapped air inside the radiator. This is called bleeding the radiator. There may also be air trapped in the nearest radiator, so it is best to bleed that one too.
- Check for any leaks.
Finally, take a look at your new valves and check for any leaks. If you do notice any drips you may need to tighten the nuts.